Getting an inquiry feels great—it’s proof your marketing or word of mouth is working! But the real magic lies in what happens next: guiding that interested client smoothly from a cold lead to a signed contract. This process, often called the Sales Funnel, shouldn't be stressful; it should establishes your professionalism from day one.
Here is a step-by-step blueprint for event vendors to master the inbound-to-contract process, saving time and closing more deals.
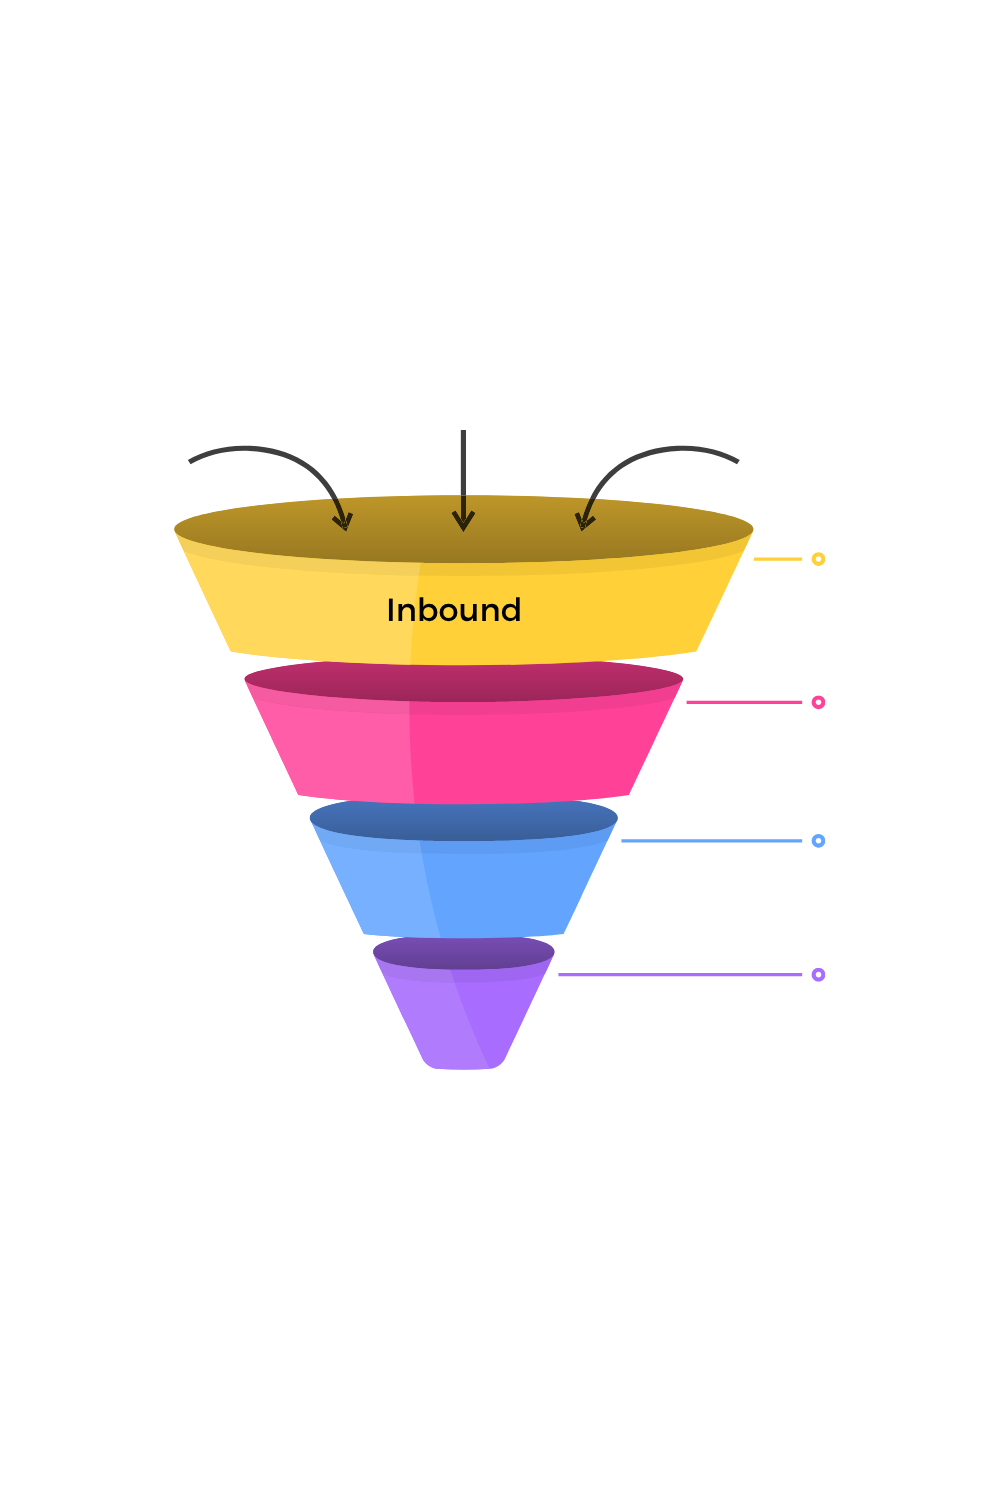
Step 1: The First 24 Hours
The first impression is critical. .
- Respond Immediately (If Possible): If you can't send a full personalised response, use an automated "received your inquiry!" email that sets the expectation: "Thank you for your inquiry! We are reviewing your details and will send a personalised response within [X hours].".
- Qualify : Your first actual response should include 1-3 targeted questions to qualify the lead and gather critical details (e.g., "What is your estimated budget range?" or "Have you secured a venue yet?"). This prevents you from wasting time on clients who aren't a good fit. You can also include this in your automated email so that they send the needful before you get a chance to reply.
Step 2 (Optional): The Focused Consultation or Discovery Call
The goal of this meeting is not to sell your services, but to sell the next step (the proposal/contract).
- Listen More Than You Talk: Use your qualifying questions as a starting point. Focus the conversation on the client’s pain points and vision. Show them you understand their needs better than anyone else.
- Talk Budget Early and Gently: Before you design a perfect solution, confirm that your starting price aligns with their budget range. It’s professional and saves everyone heartache later. For example: "Based on your needs, our services typically start at [X]. Does that align with the investment you were anticipating?"
- Map Out the Timeline: Conclude the call by explicitly stating the next steps: "Great! I have everything I need. I will send you a tailored proposal and contract with all the details by [Specific Date/Time]." Set a clear expectation and stick to it.
Step 3: The Seamless Digital Proposal & Contract Delivery
This is the moment of truth. Make it easy for them to say YES and pay the deposit.
- Combine and Conquer: Use client management software (like pixie set) to bundle the Proposal, Contract, and Invoice into a single, digital package. A client should be able to review the scope, sign with an e-signature, and pay the retainer—all in one frictionless session.
- Clarity: Ensure your Scope of Work is crystal clear. Define your services, deliverables, and, crucially, what is excluded (e.g., "Does not include linen rental"). Clear boundaries protect you both.
- Highlight the Call-to-Action (CTA): The "Sign & Pay" button should be the biggest, most obvious thing on the page. Eliminate distractions that could derail the booking process.
Step 4: Consistent, Professional Follow-Up
Leads rarely sign the same day they receive a proposal. Follow-up is essential, but it must be strategic.
- The 24-Hour Check-In: Send a brief email 24 hours after delivery to confirm they received the proposal and ask if they have any initial questions.
Takeaway: Systems Over Stress
The most successful event vendors aren't just talented—they are systematic. By formalising your inbound-to-contract process, you reduce administrative stress, convert and create a high-end, professional client experience from the very first hello.